🍦Homemade Ice Cream Is My New Soft Life Flex
📍 Written by Stacey Quinn
There’s something deeply satisfying about making ice cream from scratch. It’s nostalgic, it’s indulgent, and honestly, it just tastes better. I used to think homemade ice cream was too much work until I discovered the KitchenAid ice cream maker attachment and now? I’m hooked.
This past weekend, I made two small-batch flavors that took me out:
✨ Cookies & Cream
✨ Butterfinger
Simple ingredients. No preservatives. Just joy in a bowl.
Why I Started Making My Own Ice Cream
I’m in my soft life kitchen era. That means more slow moments, more homemade joy, and less settling for store-bought shortcuts. I wanted full control of the ingredients and a little fun while experimenting in the kitchen. Plus, my daughter loves it…and watching her light up after that first spoonful made it all worth it.
⸻
🍨 What You’ll Need:
Base Ingredients (for one batch):
• 2 cups heavy cream
• 1 cup whole milk
• ¾ cup sugar
• 1 tablespoon vanilla extract
• Pinch of salt
For Cookies & Cream:
• 8–10 crushed chocolate sandwich cookies (I used Oreos)
For Butterfinger:
• 2 Butterfinger bars, crushed (freezing them helps for cleaner crumbles)
⸻
🥣 Directions:
1. Prep the Attachment
If you’re using the KitchenAid ice cream maker attachment, make sure it’s been frozen at least 15 hours before use.
2. Make the Base
In a large mixing bowl, whisk together heavy cream, milk, sugar, vanilla, and a pinch of salt until sugar is mostly dissolved.
3. Churn It Up
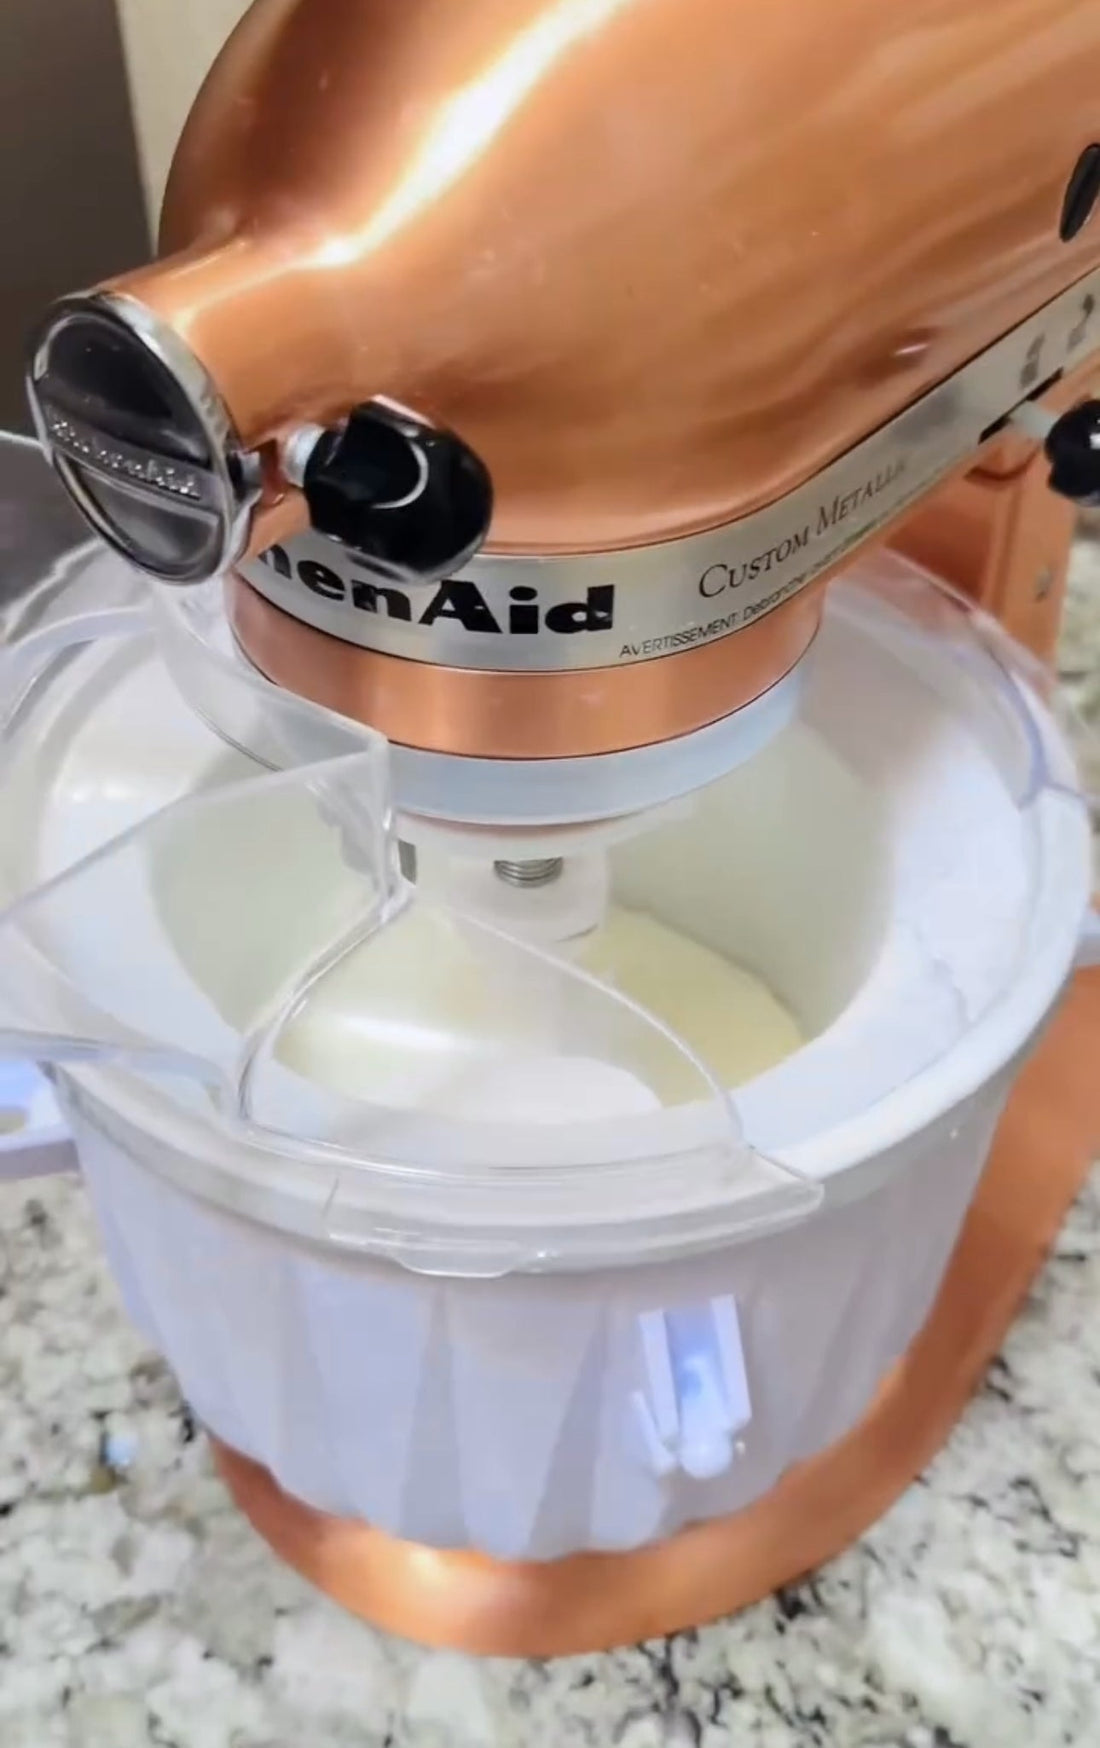
Set up your mixer with the frozen bowl and dasher. Pour in your mixture and let it churn on low speed for 20–30 minutes, or until it reaches soft-serve texture.

The magic begins here.
This is the moment the cream mixture starts transforming into something unforgettable.
Using my KitchenAid mixer with the ice cream attachment (linked below!), I churned my base for 25–30 minutes until it hit that dreamy soft-serve texture. Watching it swirl feels like a ritual now…therapeutic, nostalgic, and lowkey addicting.
4. Add Mix-Ins
Gently fold in your cookie crumbles or Butterfinger bits during the last 2 minutes of churning.

Cookies & Cream Cravings
Nothing fancy…just crushed Oreo cookies folded into creamy vanilla goodness. The key is to fold gently so you don’t lose that fluffy texture.

Butterfinger Bliss
Pro tip: they sell these already chopped up in the baking aisle! No mess, no fuss…just that perfect crunchy peanut buttery swirl.
5. Freeze to Set
Transfer to a freezer-safe container and freeze for at least 3–4 hours for scoopable texture.
⸻
🍽 Tips + Tricks:
• Use a metal loaf pan to freeze your ice cream, it chills faster and scoops better.
• Don’t over-mix your cookies or candy; you want chunks, not dust!
• Store in an airtight container for up to 2 weeks (if it lasts that long).
⸻
🛒 Shop My Ice Cream Essentials:
• [KitchenAid Ice Cream Maker Attachment]( https://amzn.to/3Uf1Nmc )
• [My Favorite Ice Cream Storage Containers]( https://amzn.to/44sVjWZ )
• [Cute Scoopers & Loaf Pans]( https://amzn.to/4nDaTH0 ) ( https://amzn.to/4nKyhT2 )
⸻
Homemade ice cream is one of those small luxuries that makes you feel like you’re really doing life right. Whether it’s for a summer treat or just because you can…I hope you try it. It’s soft life magic in a bowl.

🍨 The Final Scoop
That texture? Cloud-like. That flavor? Childhood and comfort and joy.
This is the kind of thing that makes you pause mid-bite and say, “Wait…I made this?”
It’s rich, creamy, and honestly…a whole moment.
Whether you’re entertaining guests or just treating yourself after a long day, this homemade ice cream is soft life energy in a bowl. Highly recommend.
🫛
With love,
Stacey
